Showing posts with label toys. Show all posts

Thursday, June 21, 2012

How to Wash Stuffed Animals

6:47 AM 6 Comments

Have you ever tried to wash your child's stuffed animal in the washer? I have.


The first one never quite made it out the same. My daughter's favorite fluffy little puppy quickly turned to nappy little puppy. It was clean though... (sigh). 

Luckily, I bought a backup puppy- I buy a backup of my children's favorite attachment items (blankets, stuffed animal, etc.). 

(nappy, sad, little pups)

(New puppy, old ruined puppy)


I figured out how to wash the new puppy without ruining it. 

You will need a pillowcase and a hair elastic without metal.


Place the stuffed animal in a pillowcase and tie the pillowcase off with the hair elastic.


Throw the tied pillowcase into the washer and wash in warm or cold water. Use fabric softener.


Put the washed pillowcase/stuffed animal bundle into the dryer to dry. Dry on low.


When your stuffed animal is dry, hopefully it will look AND feel like it did when you bought it.


CLEAN! (And still fluffy and soft!)


 My daughter loves her new "Snow Puppy"


Friday, December 9, 2011

Decorate Christmas

5:12 AM 0 Comments


My daughter LOVES Christmas. She loves to decorate the house, the tree, cookies, gingerbread houses, gingerbread men, etc. I came up with this felt solution to get out all her decorating energy.


I permanently added the rickrack on the gingerbread house.


Sequins were definitely a favorite decorating material.


I liked the sequin "ornaments"


Monday, October 24, 2011

Sew Much To Do

7:24 AM 2 Comments
I finally got out my sewing machine and sewed this weekend! I finished this textured blanket. It's not very cute but it's fun.


I was tired of using plastic bags to hold toys for several reasons:
1) Plastic bags should be kept away from children
2) The bags wear out
3) Children can't close them easily
4) They don't hold a lot of toys


My solution: make drawstring fabric bags! I ended up making 3 bags since they are so easy to make. I made one for MJ's tea set, one for play food, and one for little cars. I tried to use fabric that symbolized what was in the bag. It makes it a whole lot easier to sort and find toys for little ones. You will notice that this fabric bag with teacups holds MJ's tea set.


Project #3: Fabric book. I made this book for a friend's baby shower. I LOVE fabric books. They last a lot longer than board books. They are harmless and baby can turn the pages easily.

Peanut wished this one were for her.


I am also sewing a costume for MJ. I usually don't sew clothes because it requires more than just straight seams (notice my 3 previous projects above) and it takes time! I like easy, quick projects. I need to have the costume done by Wednesday so I hope to post it sometime this week.

Monday, September 19, 2011

Tickle Monster by Josie Bissett

5:37 AM 1 Comments
For a family activity we headed to Barnes & Noble to go read some books. We LOVE books. As we were browsing around the children's section, I came across this darling book. It was actually a "laughter kit" which included the book and some monster mittens. The book is super cute and the mittens were so fun. Check it out next time you head to the bookstore or HERE on Amazon.com


Sorry the pic isn't so great. My main camera is an iPhone. I wish I had an awesome camera but I don't. :)

Thursday, September 15, 2011

I Spy Jar

9:18 AM 1 Comments
I was in charge of teaching the letter "b" this week in our rotating preschool. We first learned about what sound the letter "b" makes and had a sensory bucket filled with beans and a bunch of little things that started with "b." The kids took turns searching for things that started with "b" like a bow, bell, block, ball, button, bead and balloon. There were some things that didn't start with "b" like a marble, dice, paperclip, etc. The kids really liked putting their hands in the beans and digging around.

As a reinforcer at home, I made an "I Spy" jar with baby food jars (stage 3 size). The kids get to roll and shake the jar to find the things that start with "b." I didn't glue the lids shut but you could.


We had a blast today.

Monday, September 12, 2011

Rocket Balloons

1:13 PM 0 Comments
Rocket Balloons are a great boredom buster. I have a stash of these in my rainy day (or "too cold to go outside") activity box.

I like these balloons for several reasons:

1. They are reusable (though I don't encourage sharing them. That's just gross.) Fill them up and let them go!
2. They fly high.
3. They make noise!
4. Kids love to chase them and try to catch them on their way down. I love to see the kids go wild for these.
5. Fun indoors and outdoors.

You can order them on Amazon.com or on the official Rocket Balloon website. I actually found them at a novelty candy store. Keep your eyes peeled! They cost about $5 for 30 balloons. I think it's a great deal for reusable balloons.


Thursday, September 8, 2011

Products I Love

5:24 AM 0 Comments
Here are 3 products that I love. I wish I had them. I've seen them and have interacted with them but do not own them...yet.

Let's start with the Green Marker. These are super cute grass blade sticky book marks. I want! These are popular in Japan and are difficult to obtain right now in the US. They would cost almost $100 just to get a few of these markers from Japan. I'm going to have to wait on these. BUT I JUST LOVE THEM!


Here's something I can afford- bubbles from Family Dollar! I think these were $2. It's not the actual bubbles themselves that I like, but the top! Check out the bubble top. It's a no-spill top, perfect for toddlers. I think all bubbles should come standard with this top. LOVE!


And then there's the gloves. These are absorbent dish drying gloves! One thing that I hate is opening up the dishwasher and the dishes are super hot and they're not even totally dry! Put these bad boys on, dry those dishes, and put them away at the same time. GENIUS! I don't know why I still don't own these but I should. You can find these at Bed Bath and Beyond for $4.99. That's a good deal!


Monday, August 29, 2011

Dominoes

11:26 AM 0 Comments

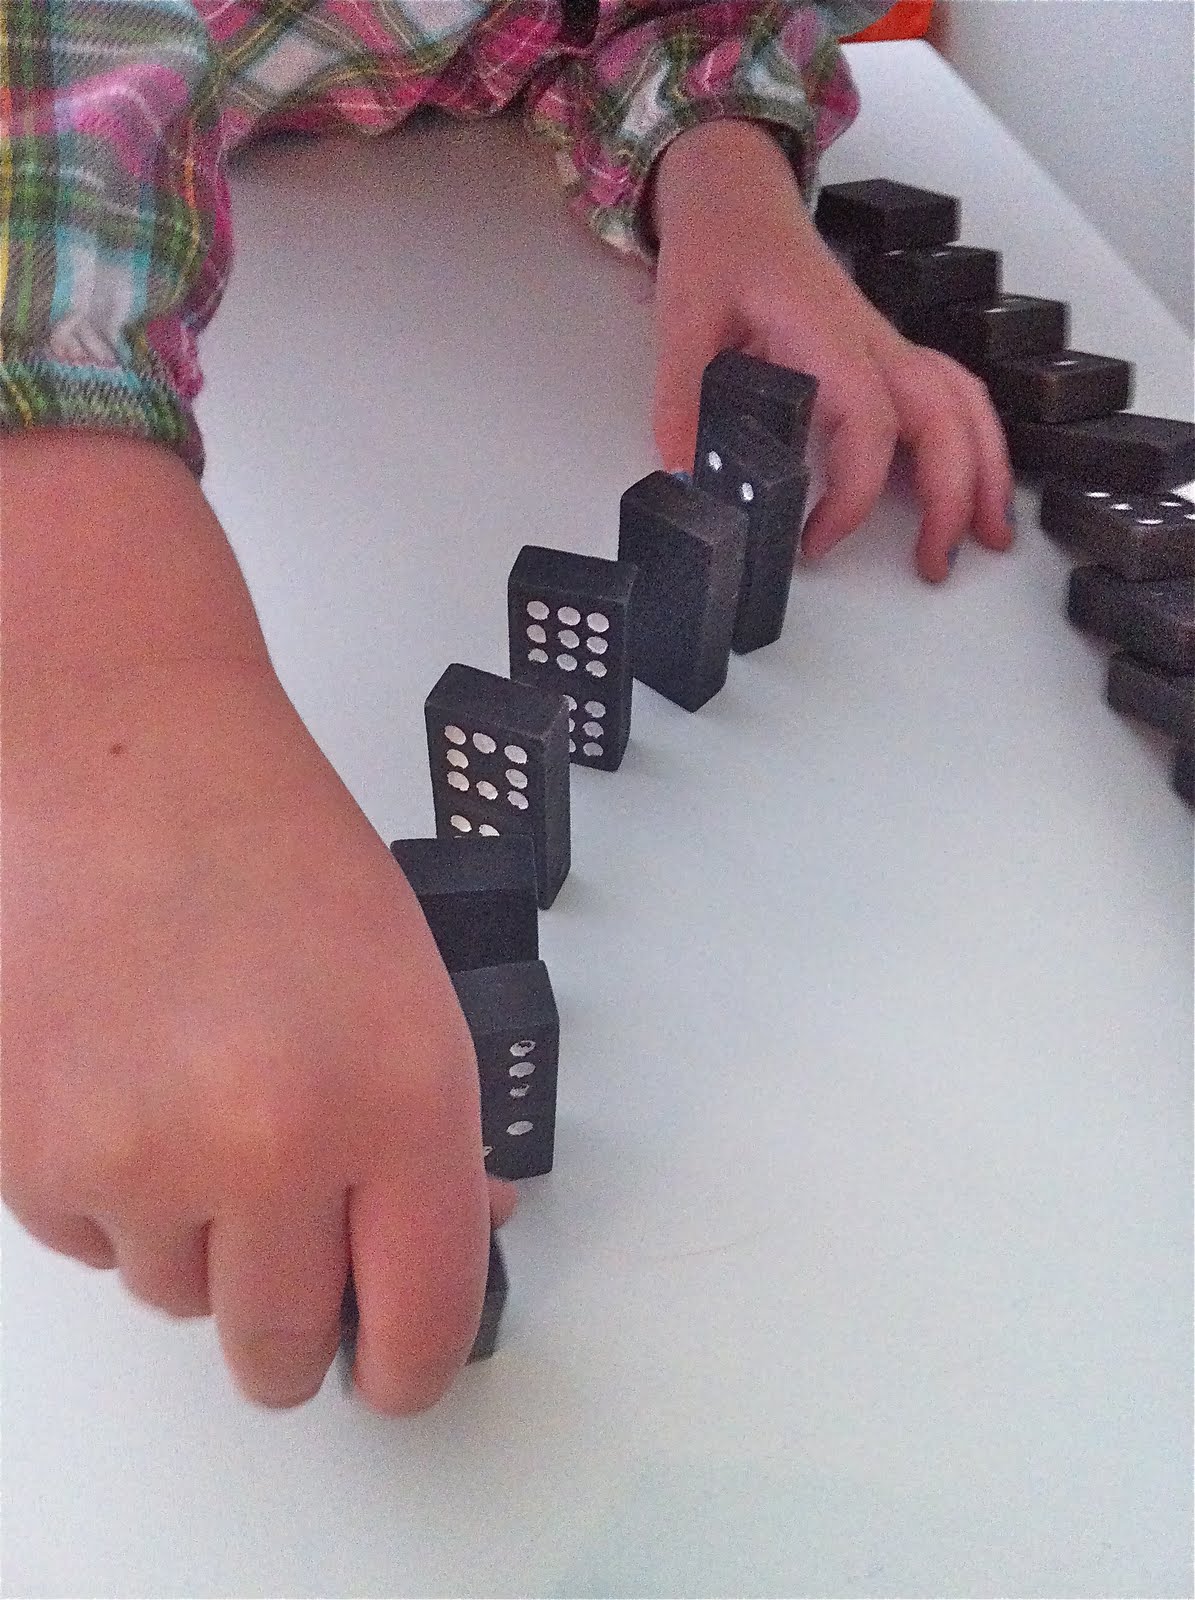
When was the last time you or your child has played with dominoes? We inherited a huge bag of wooden dominoes from my mom- the same dominoes I used to play with when I was a kid. My brothers and sisters and I would set them all up and then knock them over, use them as little blocks and stack them up, and count all the dots on the pieces. I don't remember using them to actually play a real game of "Dominoes."

MJ likes playing with them the same way I did- knocking them over. It's fun to see her grasp the concept of cause and effect.


She also likes building with them, and even playing a REAL game of "Dominoes." She learned that she had to count the dots and then match the same numbers up.


Dominoes make a great teaching tool. Who knew?

Tuesday, July 12, 2011

Alphabet Stomp Mat

4:37 AM 0 Comments
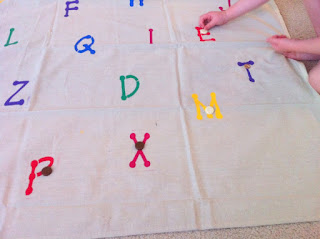
I was at an educational store a couple weeks ago and saw this cute alphabet game. I thought, "that would be fun for MJ!"
How much did they want me to pay for it? $36.95!! For that piece of plastic? No thank you! So, I made my own version, a sturdy one that won't rip, for about 11 bucks.

Supplies:

One painter's drop cloth ($7.50)
Set of fabric paints ($5.00 with 40% off coupon from JoAnn making it $3.00)
Stencil set (On clearance from $8.99 to 59 cents! at JoAnn Fabrics.)
Paint brush (had a cheap sponge brush at home. You could use a regular clean sponge too.)

1. Cut drop cloth down to the size you want it. (I cut my drop cloth into thirds. I used only one third for this mat. Now I have extra cloth for other ideas that I have. :) TIP: Once you cut your cloth, the cut edges WILL fray and sometimes they fray terribly. To avoid the problem, either hem the cut edge or tape the edge with simple masking tape. If you look closely at mine, you will see my tape. I have plans to sew mine but I just got too excited to paint it.

2. Position all the stencils on the drop cloth and put a small piece of tape on the stencils to hold them in place.

3. Sponge the paint on.


4. Let the paint dry a little before lifting the stencils off. Allow the paint to dry for 24 hours just to ensure that it's completely dry before playing.


I haven't ironed my mat yet but I love it!!!! It's nice and sturdy and MJ can stomp on it and play on it!


We've already played some fun games:
  • MJ stomps from letter to letter to spell her name or other simple words.
  • I will shout out a letter and see if she can stomp on the correct letter for letter recognition.
  • Cover up the letters with old game board pieces.
  • Use a bean bag to toss onto the letters
  • Fun practice for spelling lists for older kids.
  • Grab a set of alphabet flashcards and match the letters on the mat.


The great part about making things on your own is that you can make it how you want it. You can change the stencil style, or put cute pictures on it, etc. I would love to decorate the edges a bit.

Wednesday, July 6, 2011

Preschool Manipulatives (And They're Cheap!)

5:21 AM 0 Comments
Does anyone else LOVE Target's dollar bins? I love to find little treasures. On my last trip to Target, I found these 3 packages. Yes, $1.00 each.


First we opened the Bolts and Nuts. We decorated our laundry basket. My next plan is to get some cardboard pieces and put holes in it so we can actually build something. I like how each bolt is a different shape and the nut matches in color and shape.


These are our circus people. They are very good at balancing.


We haven't opened up the lacing beads yet. We've been having too much fun with the other two. Maybe we'll have a chance today.

These are great manipulatives for preschoolers. MJ loved counting and sorting the people too. I bet you could create all sorts of great games with these.

Follow us @justonemomtrying

Instagram

Follow Us